
API Testing for Beginners ft. Postman
API testing and development is becoming an integral skill for modern web developers and professionals working with the tech industry. This workshop was designed as a gentle and fun introduction into RESTful API development and testing using Postman, the industry-standard SaaS company for rapid API development and testing.
In Collaboration with


What are APIs?#
API stands for Application Programming Interface. An API is a software intermediary that allows two applications to talk to each other. In other words, an API is a messenger that delivers your request to the provider that you’re requesting it from and then delivers the response back to you.
APIs save time for developers because they don’t need to build time-consuming, complex features from scratch, such as chat applications. In addition, APIs allow quick and secure access to vast amounts of varied data, including those from financial markets and weather services.
RESTful APIs allow programs to communicate with each other using HTTP (Hypertext Transfer Protocol) Requests.
There are four basic HTTP methods used to communicate with a RESTful API.
- GET is used to retrieve data
- POST assigns values to an empty object
- PUT re-assigns/changes values to existing data
- DELETE gets rid of existing data.
BitBlox#
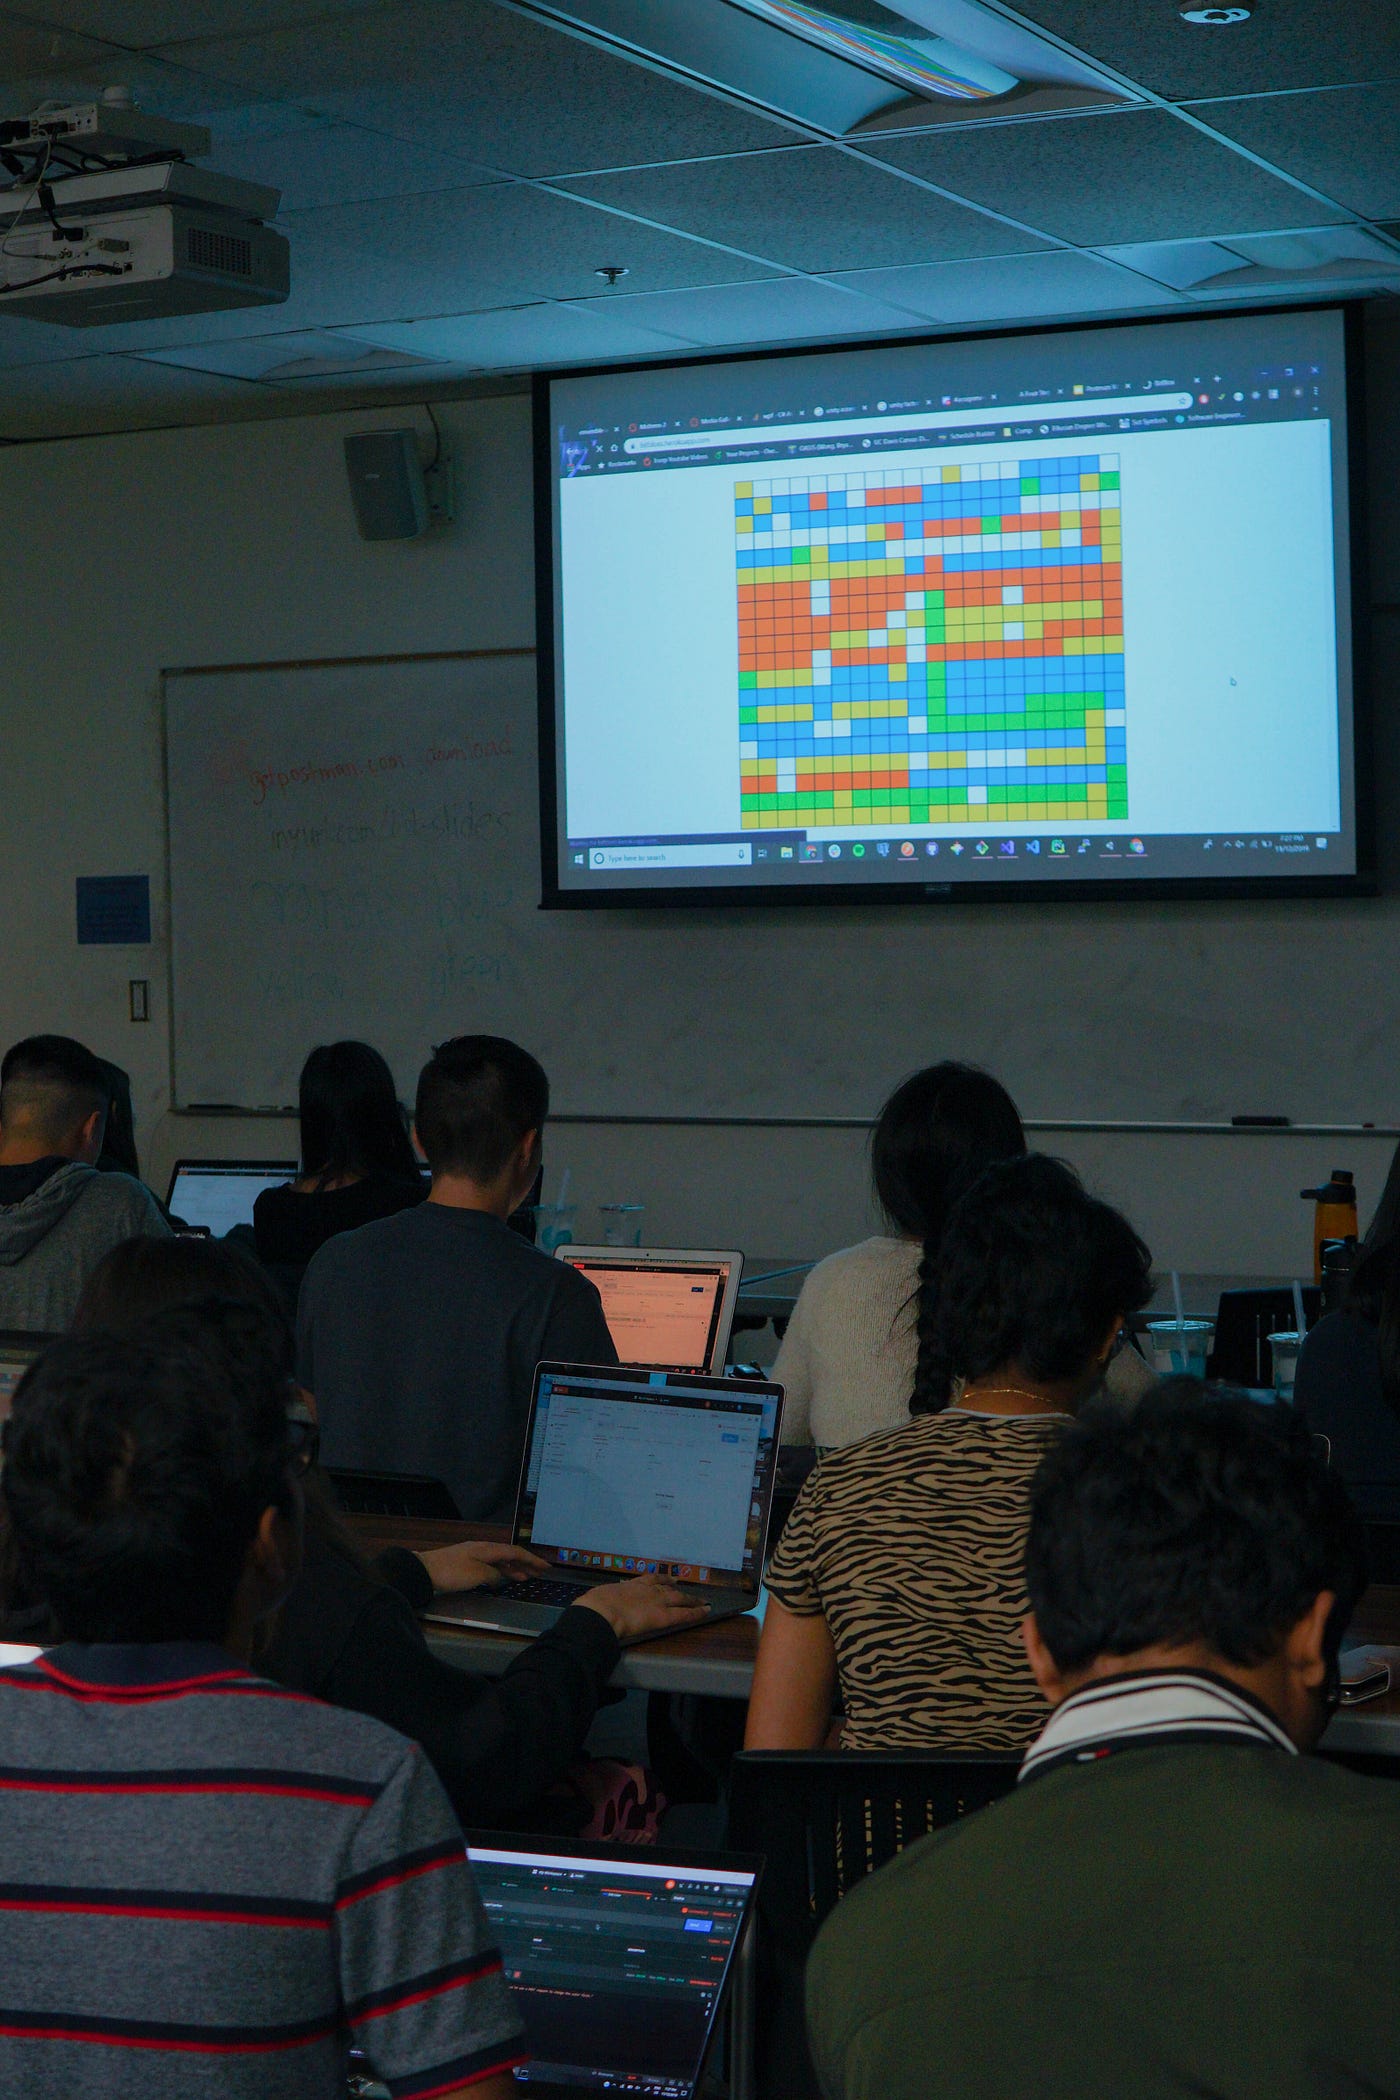
Nothing gets us going like a bit of art and good competition. We have a 20x20 grid of blank white squares and the goal of the game is to fill adjacent squares with your team color by calling API endpoints. Each square has a unique id from 1–400 and can be colored with orange, yellow, green, or blue.
In this game, you use the REST API to change the box color.
- POST requests can add color to a white box, but can not add color to an already colored box. It doesn’t make sense to add new data to something that already has data with a POST request, this is what a PUT request is used for.
- PUT requests can only change the color of colored boxes and cannot change the color of white boxes. It doesn’t make sense to edit something that doesn’t have data in the first place.
- DELETE requests can only be used to remove the color from a box only if the selected box is colored. You can’t use a DELETE request on a white square since it doesn’t make sense to delete something that does not exist.
You can see the live version of the board here
Pain of cURL#
In order to access the features of an API, one can use the cURL command. cURL, which stands for client URL and can be written as curl, is a command-line tool for file transfer with URL syntax. It supports a number of protocols including HTTP, HTTPS, FTP, and many more.
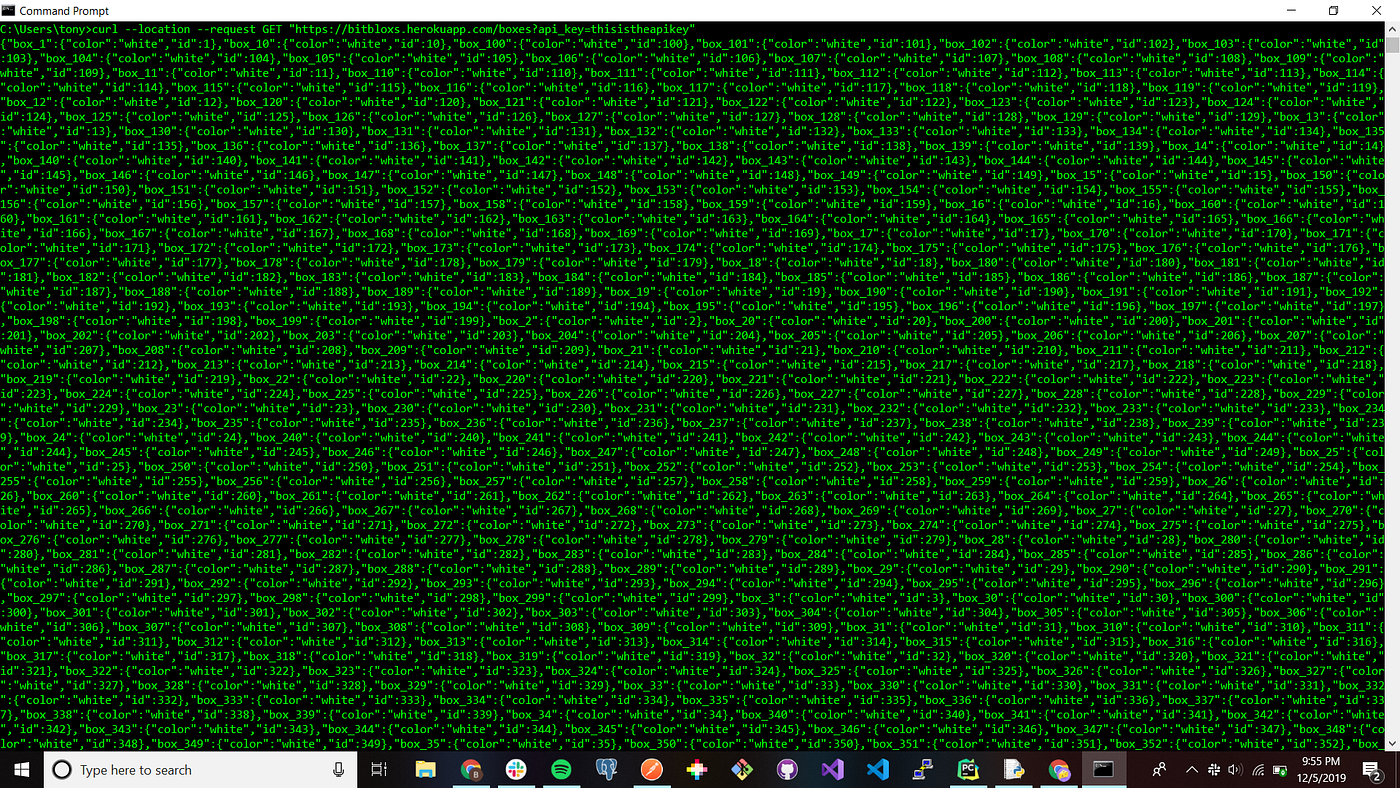
For example, in order to retrieve data on all boxes on the 20x20 grid with a GET request type the following into terminal/command prompt.
curl — location — request GET “https://bitbloxs.herokuapp.com/boxes?api_key=thisistheapikey"
We use a GET request when we want to query a collection of data or a specific piece of data
GET requests return a data object (usually in JSON) and a 200 status code.
The problem is this. The return is unformatted and usually extremely ugly.
POST Requests#
POST requests are used to send data to the server. It creates a new object.
- You are “posting” data to the API
- POST requests generally don’t return data, just a 200 status code
curl --location --request POST "https://bitbloxs.herokuapp.com/change/23/yellow?api_key=thisistheapikey"
PUT Requests#
A PUT request is used to change existing data, in contrast to POST, which creates new data
curl --location --request POST "https://bitbloxs.herokuapp.com/change/23/yellow?api_key=thisistheapikey"
So you may be realizing, this seems really messy and gross. I agree and so do the folks at Postman. This is why we are introducing…
TADA!
What is Postman#
 Postman is a collaboration platform for API development.
Makes testing APIs super simple. All the headings with the 👨🚀 before it are Postman Features we at Bit find very useful!
👨🚀 Environments#
Environments are used to easily switch between development and production servers. Environments are useful because they let you customize requests using variables so you can easily switch between different setups without changing your requests. In simple terms, it will save you a lot of time and clicking around like a madman.
At the top right of the Postman app there is a gear that you can click.
After that you will be lead to a page that looks like the following:
When you are on this page, click the orange add button.
Name your environment anything you want. Honestly, it doesn’t matter. I like to name mine after my favorite foods like env_avocado 🥑
Afterwards, we are going to create a variable called url and fill the initial value and current value with https://bitbloxs.herokuapp.com. After creating the url variable, create another variable called api_key and fill in the initial value and current value with thisistheapikey.
After creating the environment, click the No Environment button at the top right and select your newly created environment.
In my case, it is called UCD Postman Workshop. Yes. I know super creative.
Now we are going to create a GET request to retrieve the color of the selected box id. Boxes on the grid have a unique id from 1–400.
To create a request click the three dots on the Postman collection. After that click on Add Request. You should be lead to the following page:
On this screen,
- name the request “GetOneBox”
- for the description write something that best describes the role of this request. In our case, it is to “Get the color for one box”.
👨🚀 Authentication#
Every API uses authentication to only allow verified users to use it. The API that we created for the workshop needs authentication in order to use it. In order to interact with the API we need an API key, which is a unique identifier used to authenticate a user, developer, or calling program to an API.
In the GetOneBox request click the Authentication tab.
- In the Type dropdown select API Key
- In the Key field name it api_key
- In the Value field type thisistheapikey
- In the Add to field select Query Params
👨🚀 Creating your first request#
In the input field, type the following, {{url}}boxes/22. You can replace 22 with any number from 1–400. You might be wondering what {{url}} is. Well remember when we made a url variable in our environment? We can use that variable anywhere as long as we put the double curly brackets around the variables that we create in our environment. This is much better than typing https://bitbloxs.herokuapp.com for every route.
👨🚀 Documentation#
After creating your own collection, environment, and request, you must worry about documentation or everyone will get pissed at you. Thankfully, Postman autogenerates documentation on your collection. This makes it quick and easy for developers to understand all of the features of an API. In order for our workshop attendees to play our game, we had them find our collection in the Postman templates tab.
After finding the template, click on it. You should be directed to the below page.
Now click View Documentation. That should lead you to the following page.
You can now look at the documentation of the game’s API and what each endpoint does. Afterwards, click the Run in Postman button at the top right.
Now in the Postman app you should see a collection called Color Changer appear at the right-hand side of the screen.
Now at the top right of the screen, change the environment to Deploy.
After importing the collection we let the students experiment with the collection by having them test the Get all boxes request which returns the color of every box. We then showed them how to make the POST request work for our collection. They would first double click the POST request.
On the link, replace <string:color> to either blue, orange, green, or yellow.
Your link should look something like this. In my case I chose blue.
Next replace <int:box_id> with a number from 1 to 400. In my case, I chose 23.
Your link should look something like this.
After the above step click the blue Send button.
We can repeat the previous for the PUT and DELETE requests.
👨🚀 Collection Runners#
To automate the tedious process of turning each empty square into a particular color, instead of using cURL or the Postman App, one could use the Collection Runner feature.
In the POST route change the route to look something like this. Remember you can change blue to green, yellow or orange:
At the top left of the Postman app click the Runner button.
You should be lead to a page like this:
On the left page, choose the Color Changer collection. You should be taken to the following page. Make sure that only the POST request is checked.
Change the environment to the Deploy environment. Afterwards, input a csv file that lists numbers from 1 to 400. This way, the collection runner can start from 1, change the color to blue and then repeat until the runner hits 400. After giving the collection runner the file, click the big blue Run Color Changer button.
This is what you should see
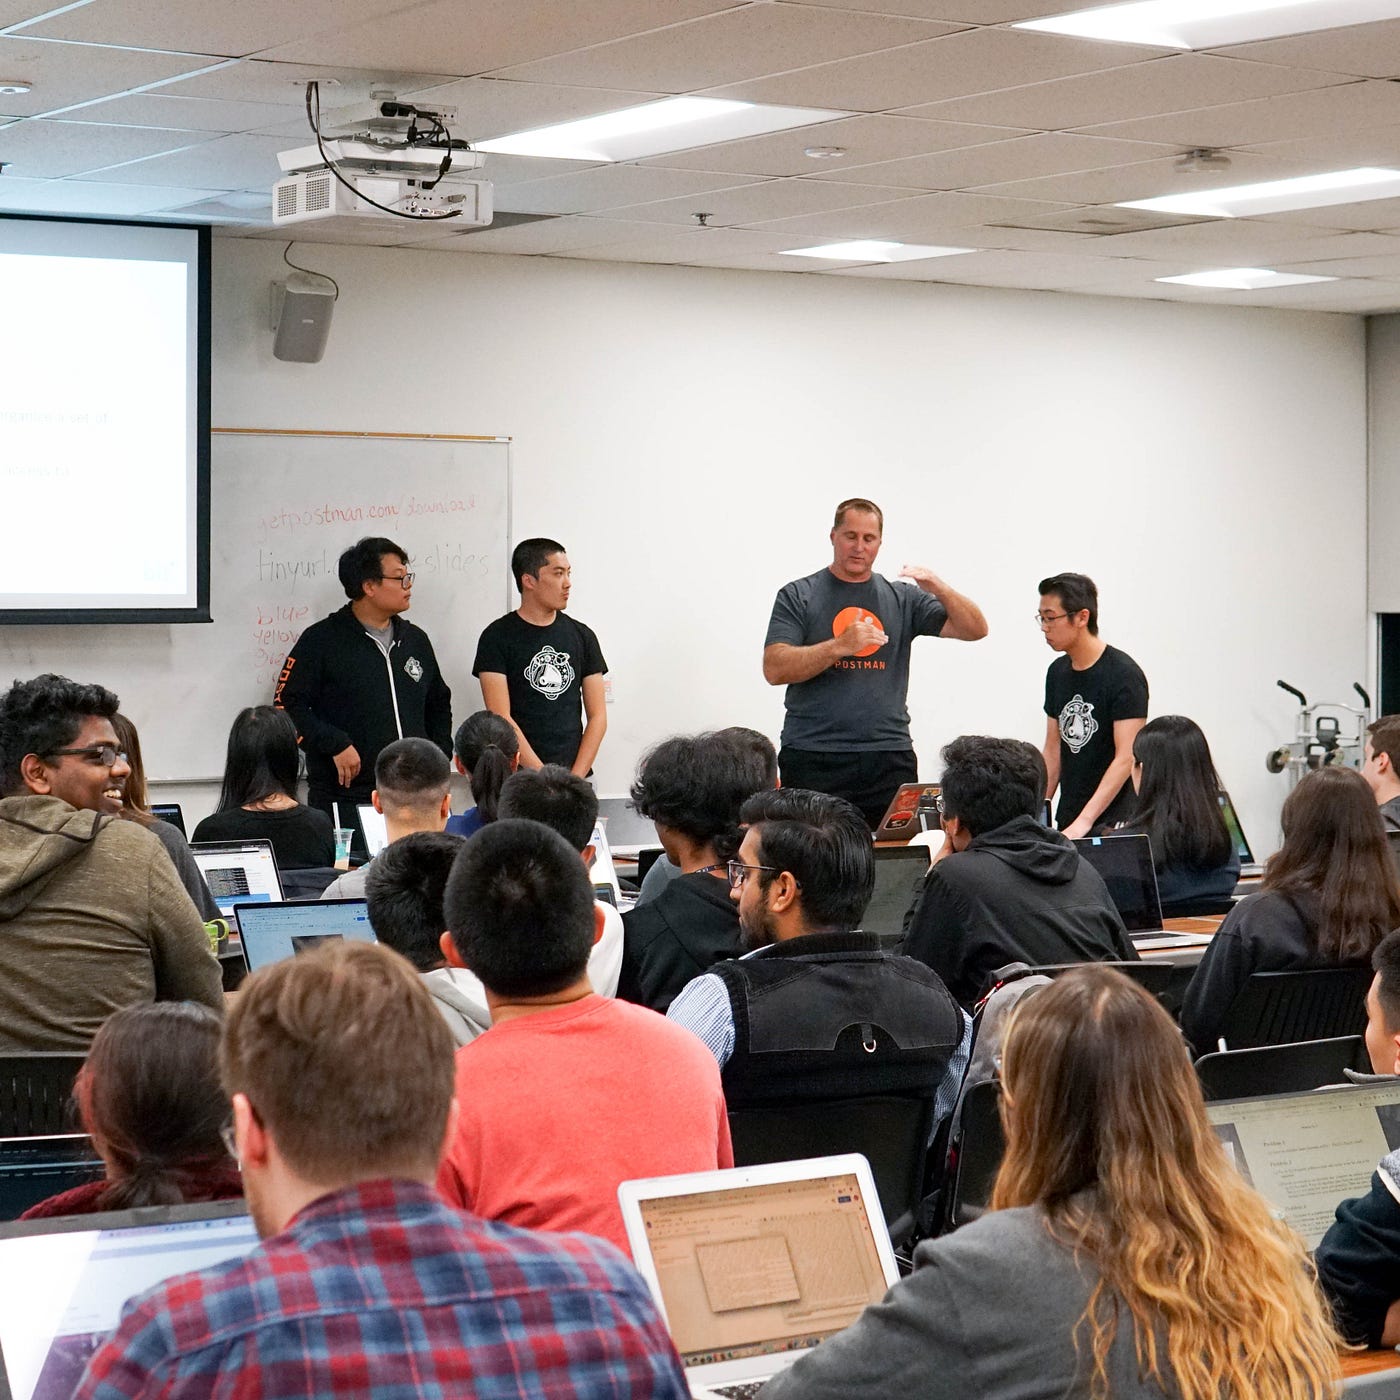
This is the content presented at the Intro to APIs workshop held at UC Davis, sponsored by PostmanAPI. This project was created by the Dev Team at Bit Project.
👉 Website